6 Ceramic Glazing Techniques

Ceramic glaze techniques are a great area where you can push the boundaries of creativity in ceramic art. Glaze is not just a coating material; it is an element that gives your ceramics an identity, adds depth and character. Therefore, when talking about ceramic glaze techniques, we should not forget how important it is for an artist to find their own style and expression.
1. Bottom Glazing
The dip glaze technique is one of the most commonly used methods. In this technique, you completely dip the ceramic into the glaze bath. During the dipping process, the glaze spreads evenly over the entire surface of the ceramic and provides a smooth coating. The most important point to pay attention to is to adjust the thickness of the glaze correctly. A very thick layer of glaze can flow during firing and give an undesirable result. A very thin layer, on the other hand, will not give the expected color and texture density.
2. Glazing with a Brush
Applying glaze with a brush works wonders, especially on pieces that require detailed work. Using a brush, you can control the density and texture of the glaze and mix different colors. However, you should be careful to make sure that the brush strokes are even, as these marks can be seen after firing. When working with this technique, being patient and careful always gives the best results.
3. Spray Glaze
The spray glaze technique is ideal for applying a thin layer of glaze to large surfaces. This method saves time, especially for large pieces, and allows the glaze to be spread thinly and evenly. However, when spray glazing, it is important to wear a mask and ensure good ventilation. It is also better to apply the glaze in several thin layers so that the layers are not too thick.
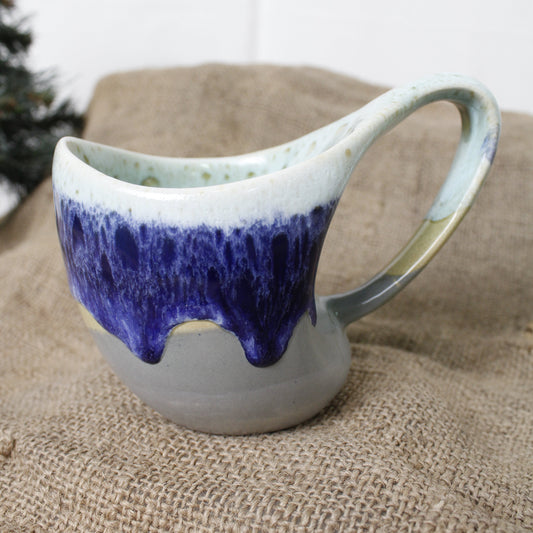
4. Drip and Pouring Techniques
Drip and drip are techniques that add dynamism to ceramics. In these methods, the glaze is poured or dripped onto the ceramic. It creates a natural flow and a sense of movement. However, the consistency and fluidity of the glaze are very important in these techniques. It may be useful to experiment while working with this technique so that the glaze does not flow too much during firing.
5. Use of Stamps and Templates
Stamps and stencils are excellent for applying patterns and motifs to ceramics. These techniques allow the glaze to be applied to specific areas, allowing for intricate patterns. When using stamps, make sure the glaze is well incorporated into the stamp, otherwise the patterns may be blurred or indistinct.
6. Working with Oxides
Working with oxides in a glaze is another creative technique that adds depth and color to your ceramics. Oxides can be applied under or over the glaze and can have dramatic effects on the color of the glaze after firing. However, the dosage of oxides is very important; too much oxide can darken the color of the glaze or cause an undesirable texture.
Baking Process and Its Effects
In glaze techniques, the firing process is also very important. The temperature of the kiln can have a direct effect on the final color and texture of the glaze. A slow firing can spread the glaze more evenly, while a fast firing can create more dramatic effects. Being patient during firing is another factor that positively affects the results.
Experiments and Creativity
Finally, the most important thing when it comes to glaze techniques is to not be afraid to experiment. You can create your own unique style by combining different glazes, oxides and techniques. Ceramics is an art form that evolves through trial and error, so always be open to discovering new techniques and trying different combinations.
Ceramic glaze techniques are an area that offers unlimited creativity to the artist. As you master these techniques, you will better understand how to add details that will make your ceramics unique. The important thing is to enjoy the process and learn something new every step of the way.